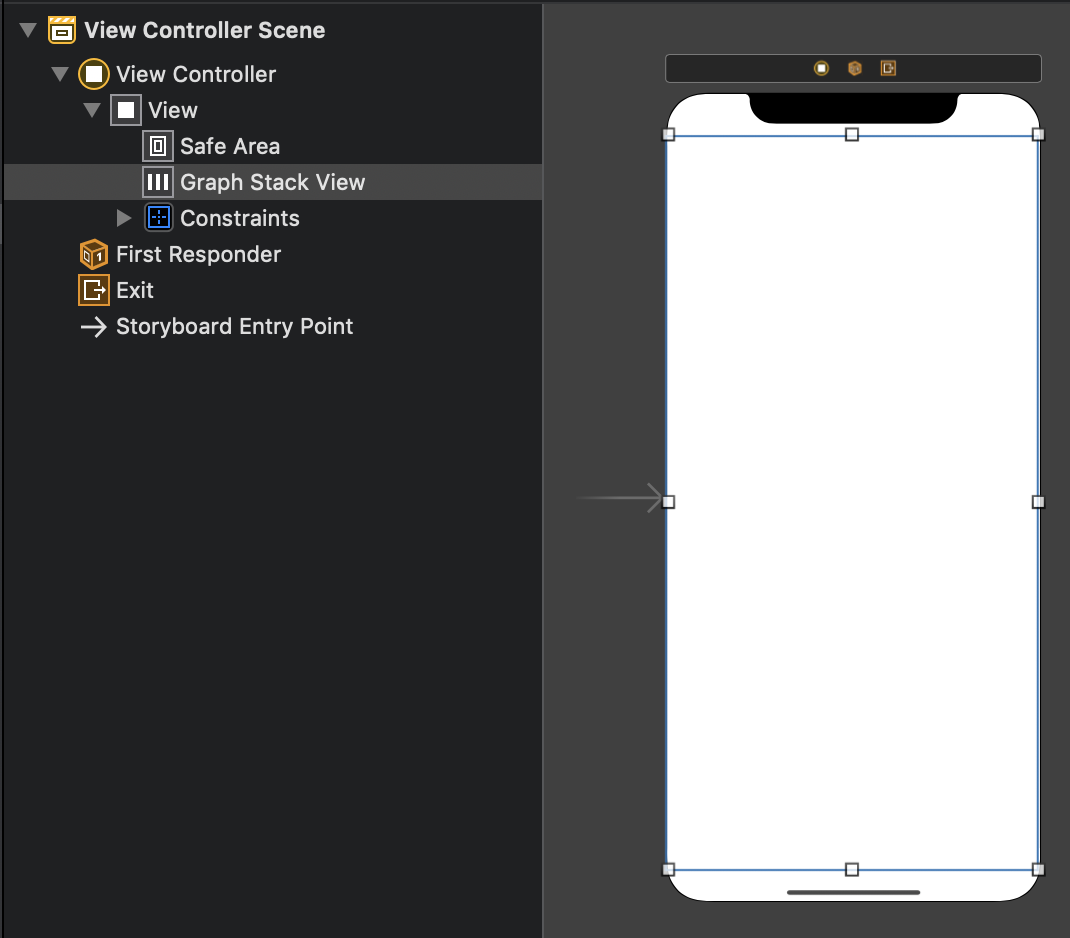
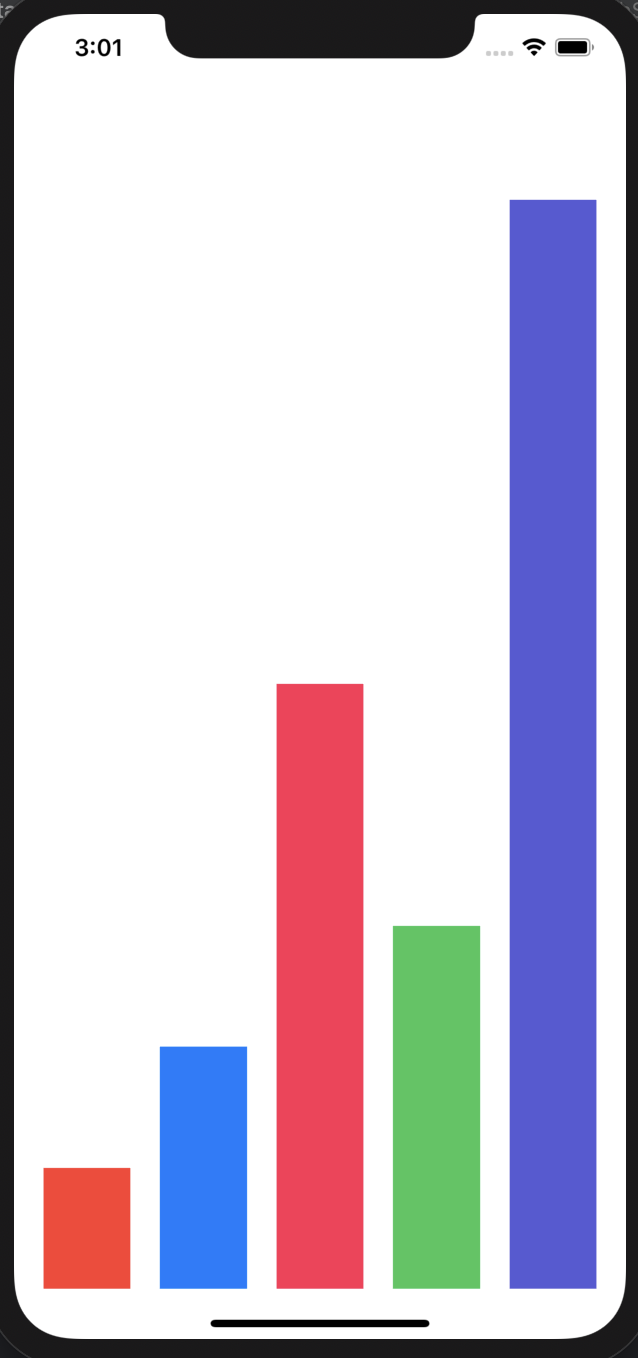
classViewController:UIViewController{letcolors:[UIColor]=[.systemRed,.systemBlue,.systemPink,.systemGreen,.systemIndigo]letpercentages:[CGFloat]=[0.1,0.2,0.5,0.3,0.9]@IBOutletweakvargraphStackView:UIStackView!overridefuncviewDidLoad(){super.viewDidLoad()// Do any additional setup after loading the view.graphStackView.distribution=.fillEquallygraphStackView.alignment=.bottomgraphStackView.spacing=20graphStackView.isLayoutMarginsRelativeArrangement=truegraphStackView.layoutMargins.left=20graphStackView.layoutMargins.right=20for(color,percentage)inzip(colors,percentages){addBar(bgColor:color,percentage:percentage)}}privatefuncaddBar(bgColor:UIColor,percentage:CGFloat){letview=UIView()letheight=graphStackView.frame.height*percentageview.backgroundColor=bgColorview.heightAnchor.constraint(equalToConstant:height).isActive=truegraphStackView.addArrangedSubview(view)}}
classBarChartView:UIStackView{init(frame:CGRect,barChartItems:[BarChartModel]){super.init(frame:frame)axis=.horizontaldistribution=.fillEquallyalignment=.bottomspacing=20isLayoutMarginsRelativeArrangement=truelayoutMargins.left=20layoutMargins.right=20foriteminbarChartItems{addBar(bgColor:item.color,percentage:item.percentage)}}requiredinit(coder:NSCoder){fatalError("init(coder:) has not been implemented")}privatefuncaddBar(bgColor:UIColor,percentage:CGFloat){letview=UIView()letheight=frame.height*percentageview.backgroundColor=bgColorview.heightAnchor.constraint(equalToConstant:height).isActive=trueaddArrangedSubview(view)}}
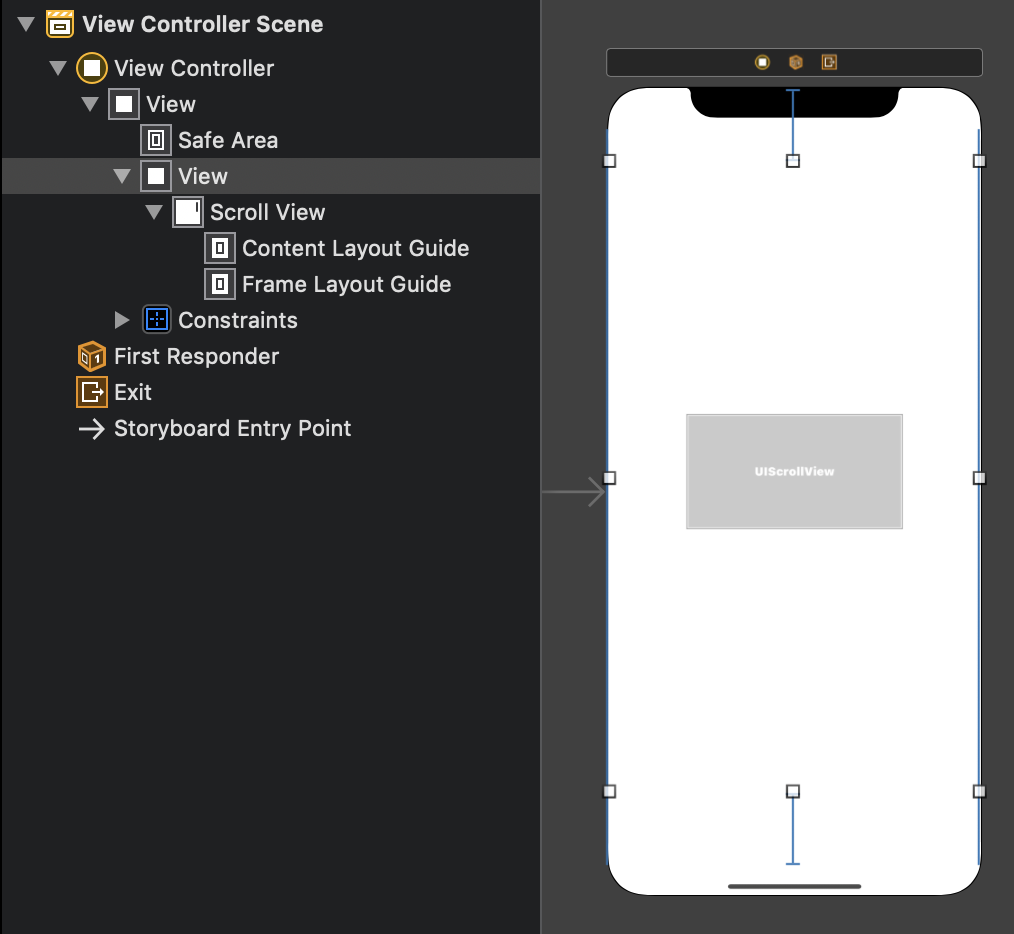
overridefuncviewDidLoad(){super.viewDidLoad()// Do any additional setup after loading the view.scrollView.frame=CGRect(x:0,y:0,width:scrollView.superview!.frame.width,height:scrollView.superview!.frame.height)configureScrollView()}privatefuncconfigureScrollView(){scrollView.isPagingEnabled=trueletcontentsView=UIView(frame:CGRect(x:0,y:0,width:scrollView.frame.width*CGFloat(data.count),height:scrollView.frame.height))scrollView.addSubview(contentsView)scrollView.contentSize=contentsView.frame.sizefor(i,barChartItems)indata.enumerated(){letwidthPercentage=CGFloat(barChartItems.count)/CGFloat(data[0].count)letframe=CGRect(x:scrollView.frame.width*CGFloat(i),y:0,width:scrollView.frame.width*widthPercentage,height:scrollView.frame.height)letview=BarChartView(frame:frame,barChartItems:barChartItems)contentsView.addSubview(view)}}