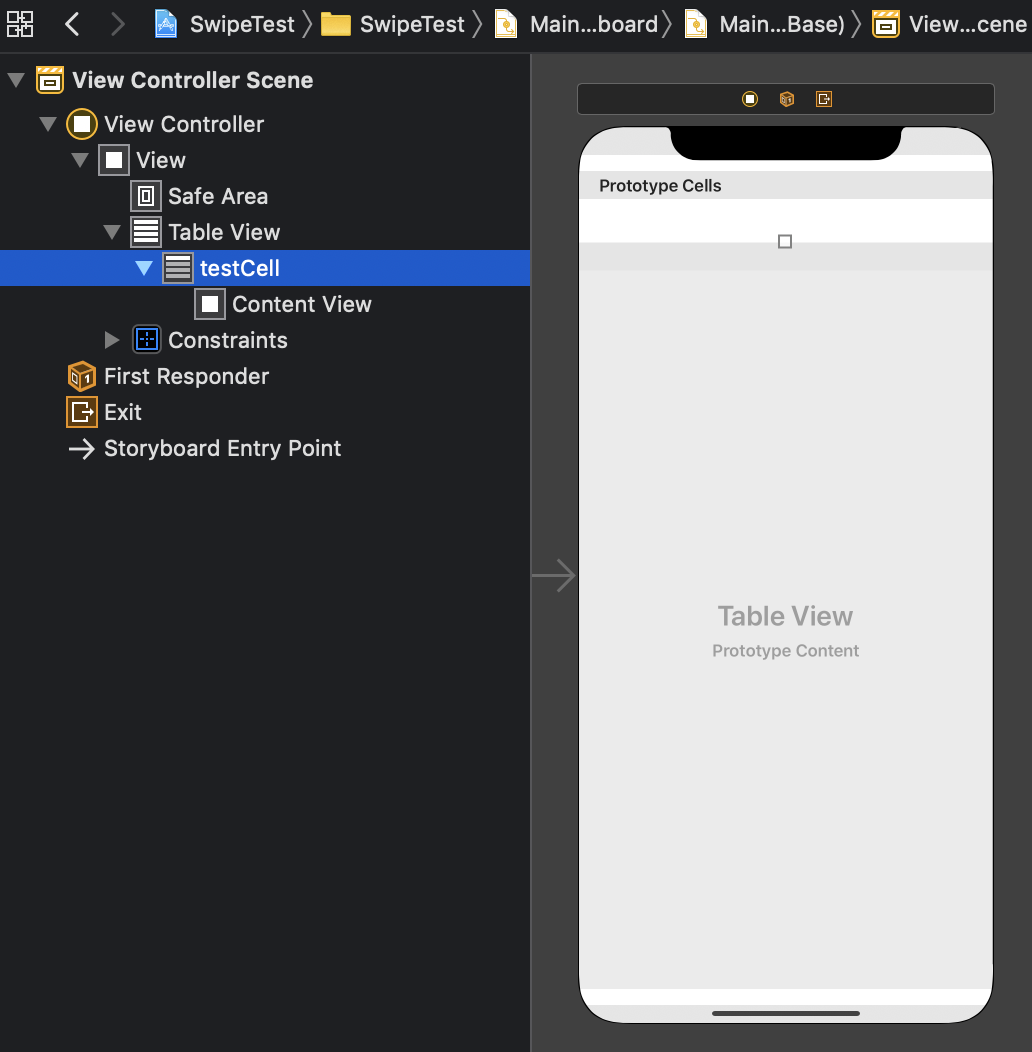
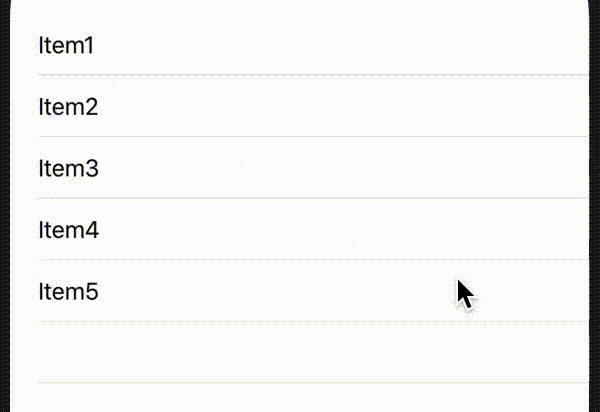
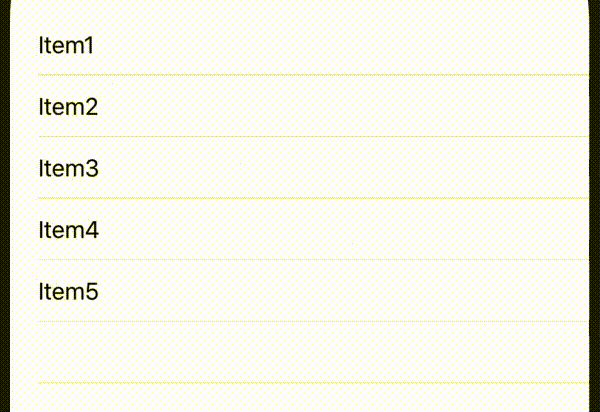
classViewController:UIViewController{@IBOutletweakvartableView:UITableView!varitems=["Item1","Item2","Item3","Item4","Item5"]overridefuncviewDidLoad(){super.viewDidLoad()// Do any additional setup after loading the view.tableView.dataSource=selftableView.delegate=self}}extensionViewController:UITableViewDataSource{functableView(_tableView:UITableView,numberOfRowsInSectionsection:Int)->Int{items.count}functableView(_tableView:UITableView,cellForRowAtindexPath:IndexPath)->UITableViewCell{letcell=tableView.dequeueReusableCell(withIdentifier:"testCell")!cell.textLabel?.text=items[indexPath.row]returncell}}
classTestCell:UITableViewCell{lettrashImage:UIImageView={letimageView=UIImageView()imageView.image=UIImage(systemName:"trash")imageView.translatesAutoresizingMaskIntoConstraints=falseimageView.tintColor=.whiteimageView.contentMode=.scaleAspectFillreturnimageView}()letoverlay:UIView={letview=UIView()view.translatesAutoresizingMaskIntoConstraints=falseview.backgroundColor=.whitereturnview}()letlabel:UILabel={letlabel=UILabel()label.text=""label.translatesAutoresizingMaskIntoConstraints=falsereturnlabel}()overrideinit(style:UITableViewCell.CellStyle,reuseIdentifier:String?){super.init(style:style,reuseIdentifier:reuseIdentifier)self.backgroundColor=.systemPinkoverlay.addSubview(label)self.addSubview(trashImage)self.addSubview(overlay)}requiredinit?(coder:NSCoder){fatalError("init(coder:) has not been implemented")}overridefuncdidAddSubview(_subview:UIView){super.didAddSubview(subview)overlay.frame=CGRect(x:0,y:0,width:self.frame.width,height:self.frame.height)label.frame=CGRect(x:20,y:0,width:overlay.frame.width-20,height:overlay.frame.height)trashImage.layer.anchorPoint=CGPoint(x:0,y:0.5)updateTrashSize(20)}funcupdateTrashSize(_s:CGFloat){trashImage.frame=CGRect(x:0,y:0,width:s,height:s)trashImage.layer.position.x=self.frame.width-strashImage.layer.position.y=40}overridefuncawakeFromNib(){super.awakeFromNib()// Initialization code}overridefuncsetSelected(_selected:Bool,animated:Bool){super.setSelected(selected,animated:animated)// Configure the view for the selected state}}
classViewController:UIViewController{@IBOutletweakvartableView:UITableView!privatevaritems=["items-1","items-2","items-3","items-4","items-5"]overridefuncviewDidLoad(){super.viewDidLoad()// Do any additional setup after loading the view.tableView.register(TestCell.self,forCellReuseIdentifier:"testCell")tableView.dataSource=self}}extensionViewController:UITableViewDataSource{functableView(_tableView:UITableView,numberOfRowsInSectionsection:Int)->Int{returnitems.count}functableView(_tableView:UITableView,cellForRowAtindexPath:IndexPath)->UITableViewCell{letcell=tableView.dequeueReusableCell(withIdentifier:"testCell")as!TestCellcell.addGestureRecognizer(UIPanGestureRecognizer(target:self,action:#selector(cellPanned(_:))))cell.label.text=items[indexPath.row]returncell}@objcfunccellPanned(_sender:UIPanGestureRecognizer){switchsender.state{case.began:panBegan(sender)case.changed:panChanged(sender)case.ended:panEnded(sender)default:break}}funcpanBegan(_sender:UIPanGestureRecognizer){// 必要なら何か処理を書く}funcpanChanged(_sender:UIPanGestureRecognizer){letcell=sender.viewas!TestCellletx=cell.layer.position.xletdx=sender.translation(in:self.view).xifdx<0{cell.overlay.layer.position.x=x+dx}ifabs(dx)>cell.frame.width/4{UIView.animate(withDuration:0.2,delay:0,options:.curveEaseOut,animations:{cell.updateTrashSize(50)},completion:nil)}}funcpanEnded(_sender:UIPanGestureRecognizer){letcell=sender.viewas!TestCellletdx=sender.translation(in:self.view).xifabs(dx)>cell.frame.width/4{UIView.animate(withDuration:0.2,delay:0,options:.curveEaseOut,animations:{cell.overlay.layer.position.x=-cell.overlay.frame.width},completion:nil)letindexPath=self.tableView.indexPath(for:cell)!self.items.remove(at:indexPath.row)self.tableView.deleteRows(at:[indexPath],with:.none)}else{UIView.animate(withDuration:0.2,delay:0,options:.curveEaseOut,animations:{cell.overlay.layer.position.x=cell.layer.position.xcell.updateTrashSize(10)},completion:nil)}}}